 ETVTIME Home Design and Gardens
Gardening for beginners: Easy tips and simple explanations:
Gardening for beginners: Easy tips and simple explanations are useful for all level. An old adage among gardeners goes, “One penny for a plant as well as an ounce for the hole.” Planting and preparation are the best ways to ensure that your plants grow effectively. You will get better results if you work harder to prepare the soil. 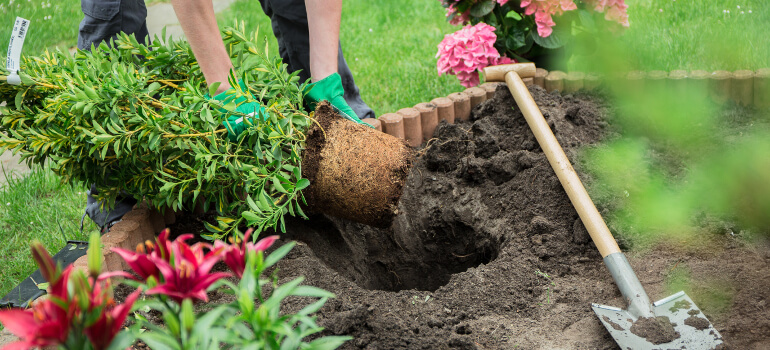
Every gardener was a beginner at one time or another. Whether you’ve never gardened before, want to start growing fruits and vegetables or houseplants, or simply want to transform your outdoor space into a relaxing hangout, we can assist.
Explore our sections to learn how to create eye-catching container displays, maximize your available space, mix and match plants, and identify the many types of plants you might be growing. You won’t be a rookie for very long; you’ll also find a useful vocabulary that will help you comprehend what other gardeners are saying.
Before you start, examine your soil:
Prior to choosing plants for your garden, be sure you are aware of the type of soil you have. Because numerous kinds of soil work better for different plants, you may need to clean up your soil after planting.
Digging through heavy clay soil will be difficult; adding more compost or well-rotted manure will improve the structure of the soil. In order to increase fertility, you must also add nutrients if your soil is chalky or sandy. Additionally, you want to ascertain the pH of your soil. The pH range of most plants is approximately 6, which falls between neutrality and acidity. Gardening for beginners: Easy tips and simple explanations depend on land. However, some plants—known as ericaceous plants—need higher acidity levels. Although adjusting the pH of your soil is difficult, you can achieve some small changes by using acid composts or building an acidic raised bed or container.
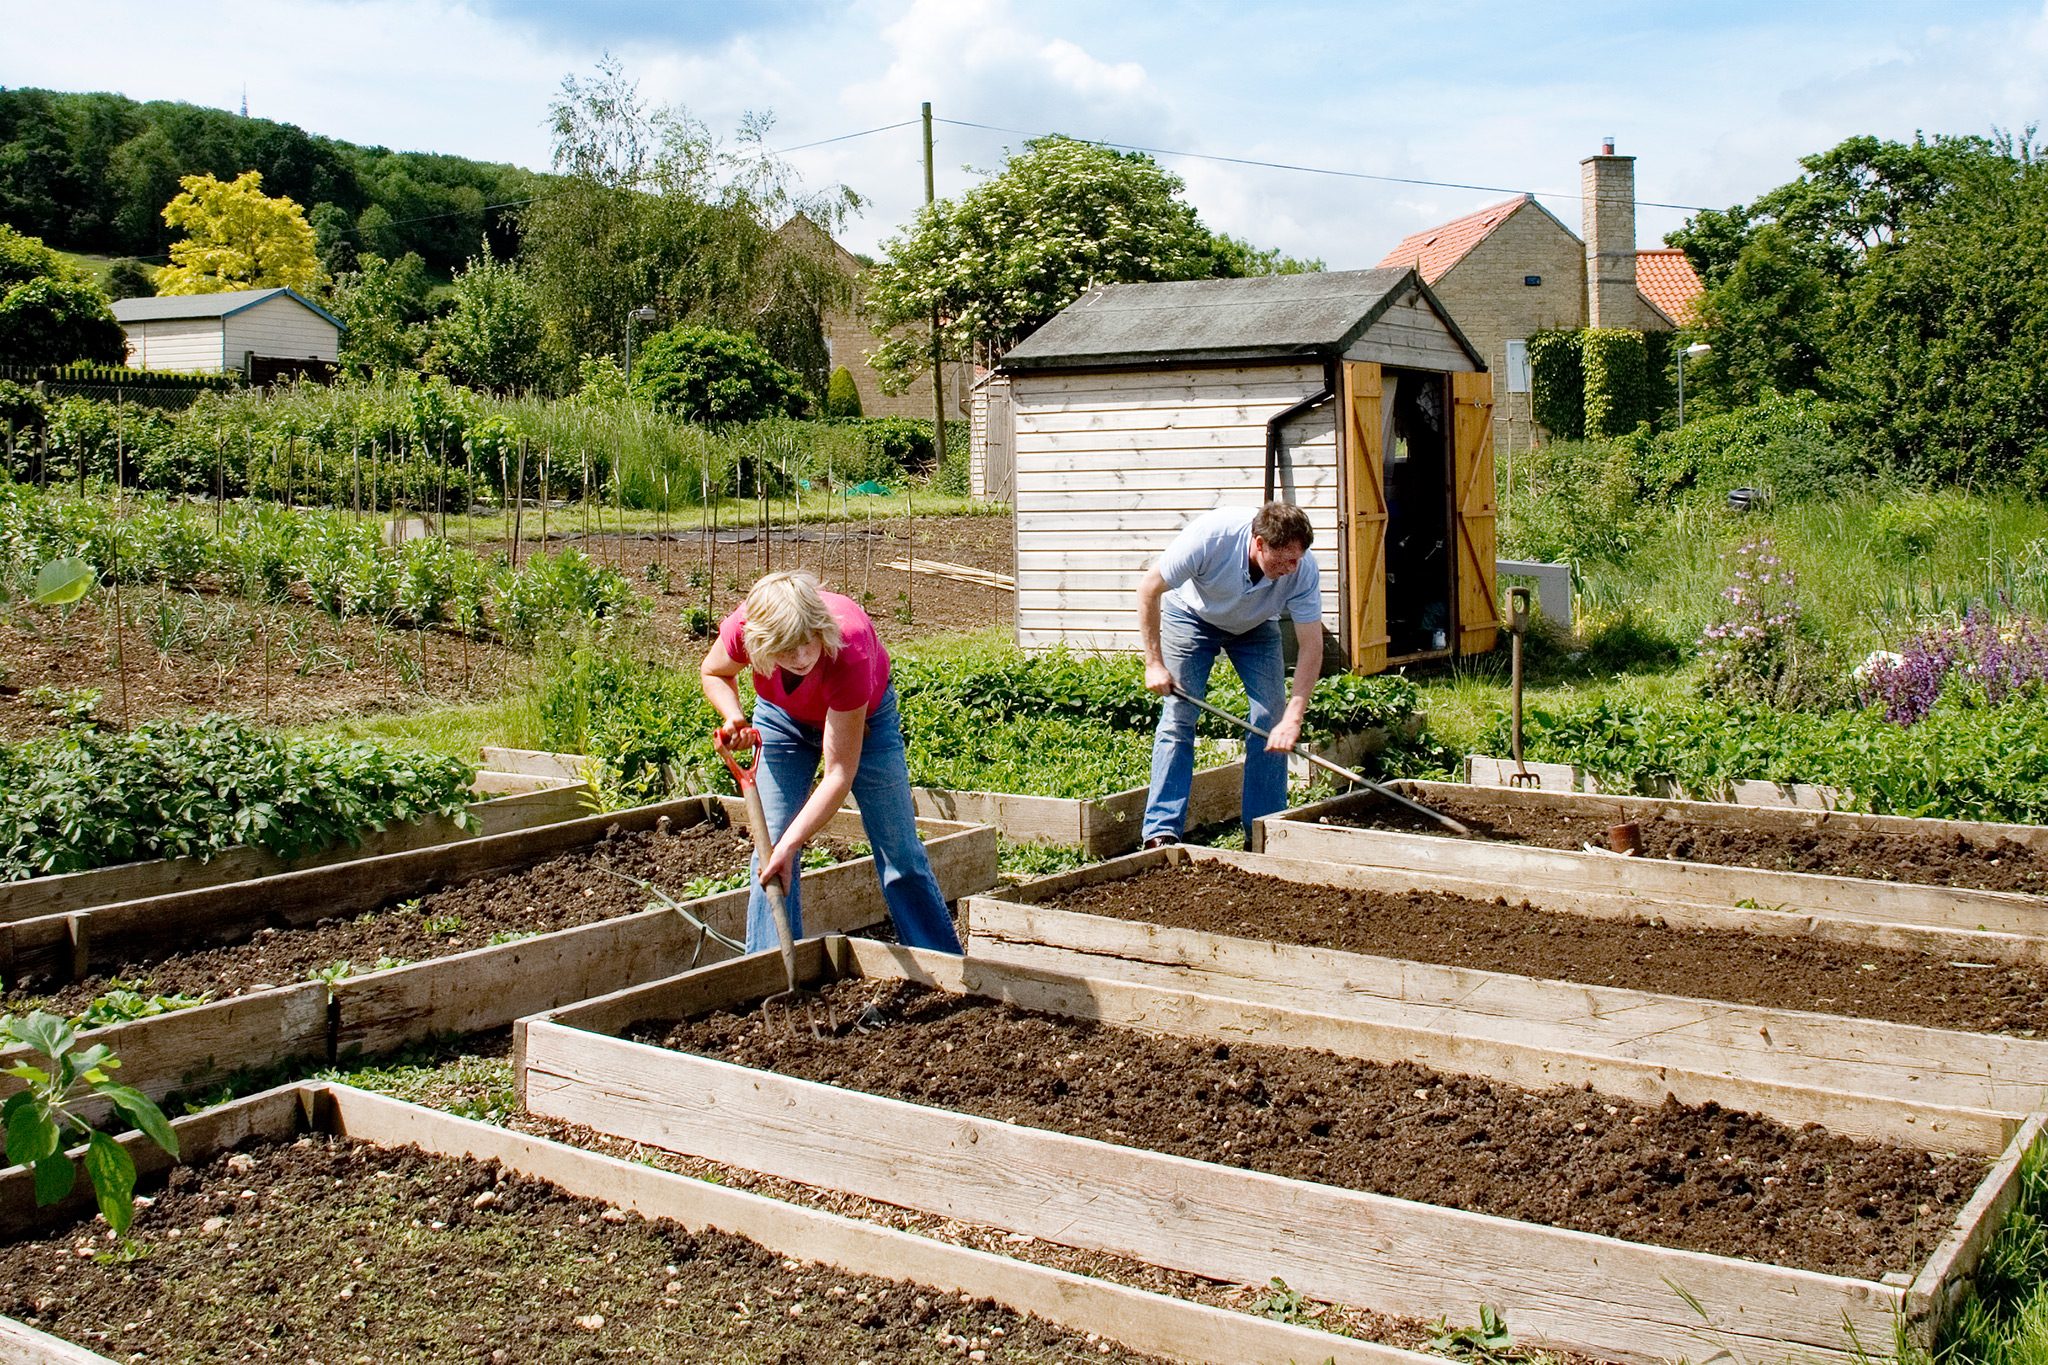
Make a planting schedule:
If you’re lucky enough to have a space to work with, have constructed a new bed, and know exactly what plants you want, then creating a gardening plan is a great idea. By cutting out pictures of the plants you prefer from catalogs and periodicals, you can play around with the way you arrange the plants. Arrange your plants and play around with the layout as soon as they come. Make sure you read the instructions and give the plant enough space to spread out once it reaches its full size.
Placing indoor potted plants:
Make a hole that is large enough to accommodate the intended plant. Place the container plant inside the opening to confirm this. Its depth shouldn’t be higher than the vessel itself, and it should fit snugly with two millimeters of room left over on all sides.
Most small shrubs that are sold are sold in plastic pots that they often outgrow. The rootball of the shrub you’ve chosen can be extremely compact. If so, carefully remove the root mat from the plant by loosening the soil around it. Don’t worry about uprooting the old roots; new ones will grow.
Establishing trees and plants from the soil up:
Make sure there is enough space for the roots of any vegetation with bare roots, such as shrubs, trees, and roses, to stretch out comfortably. Look for the “tide impression” in the soil close to the base of the plants to estimate the planting depth. This will give you the current planting depth. Gardening for beginners: Easy tips and simple explanations are for you. To help the roots pierce the dirt, run a fork along the edge of the hole. Once the proper dimensions are reached, fill it with fish, bones, blood, well-rotted manure, or micorrhizal fungi. In case a stake is being used, insert it firmly, diagonally, and immediately.
Planting bulbs:
Planting plants and trees from the ground up. Verify that there is sufficient room for the roots of any plants with exposed roots, such as roses, trees, and shrubs, to spread out freely. To determine the planting depth, look for a “tide indentation” in the soil near the ground level of the plants. You will then know the planting depth as of right now. Run a fork down the hole’s edge to aid the roots’ piercing of the earth. Fill it with aquatic life, cartilage, pus, well-rotted fertilizer, or mycorrhizal fungus after it reaches the right size. If a support is being used, put it in firmly, quickly, and diagonally.
Installing plug plants:
One of the easiest ways to start a garden is to buy plug plants. Usually, you can order these little seedling plants by mail. In the early spring, they are usually available in two distinct shapes, or growth phases. Both sizes need to be potted up into bigger pots in order to reach the next stage of growth before being planted outdoors in borders or containers. Gardening for beginners: Easy tips and simple explanations. For best plug plant growth, water the plugs prior to planting and handle the plants carefully, removing them from the containers they arrive in using their topmost two leaves. Make a hollow in the middle of a small compost-filled pot and place your plug inside.
Next, give the surrounding earth a quick pat. After all the chance of frost has passed, some cultivars may need to be replanted into the next bigger dimension and “hardened off” outside before planting.
Planting depth:
Study the planting specifications before making a plant purchase. Bearded irises, for example, should be planted in a sunny area with the base of the plant just above the ground. However, while planting roses, ensure that the soil is level at the point where the variety joins the rootstock.
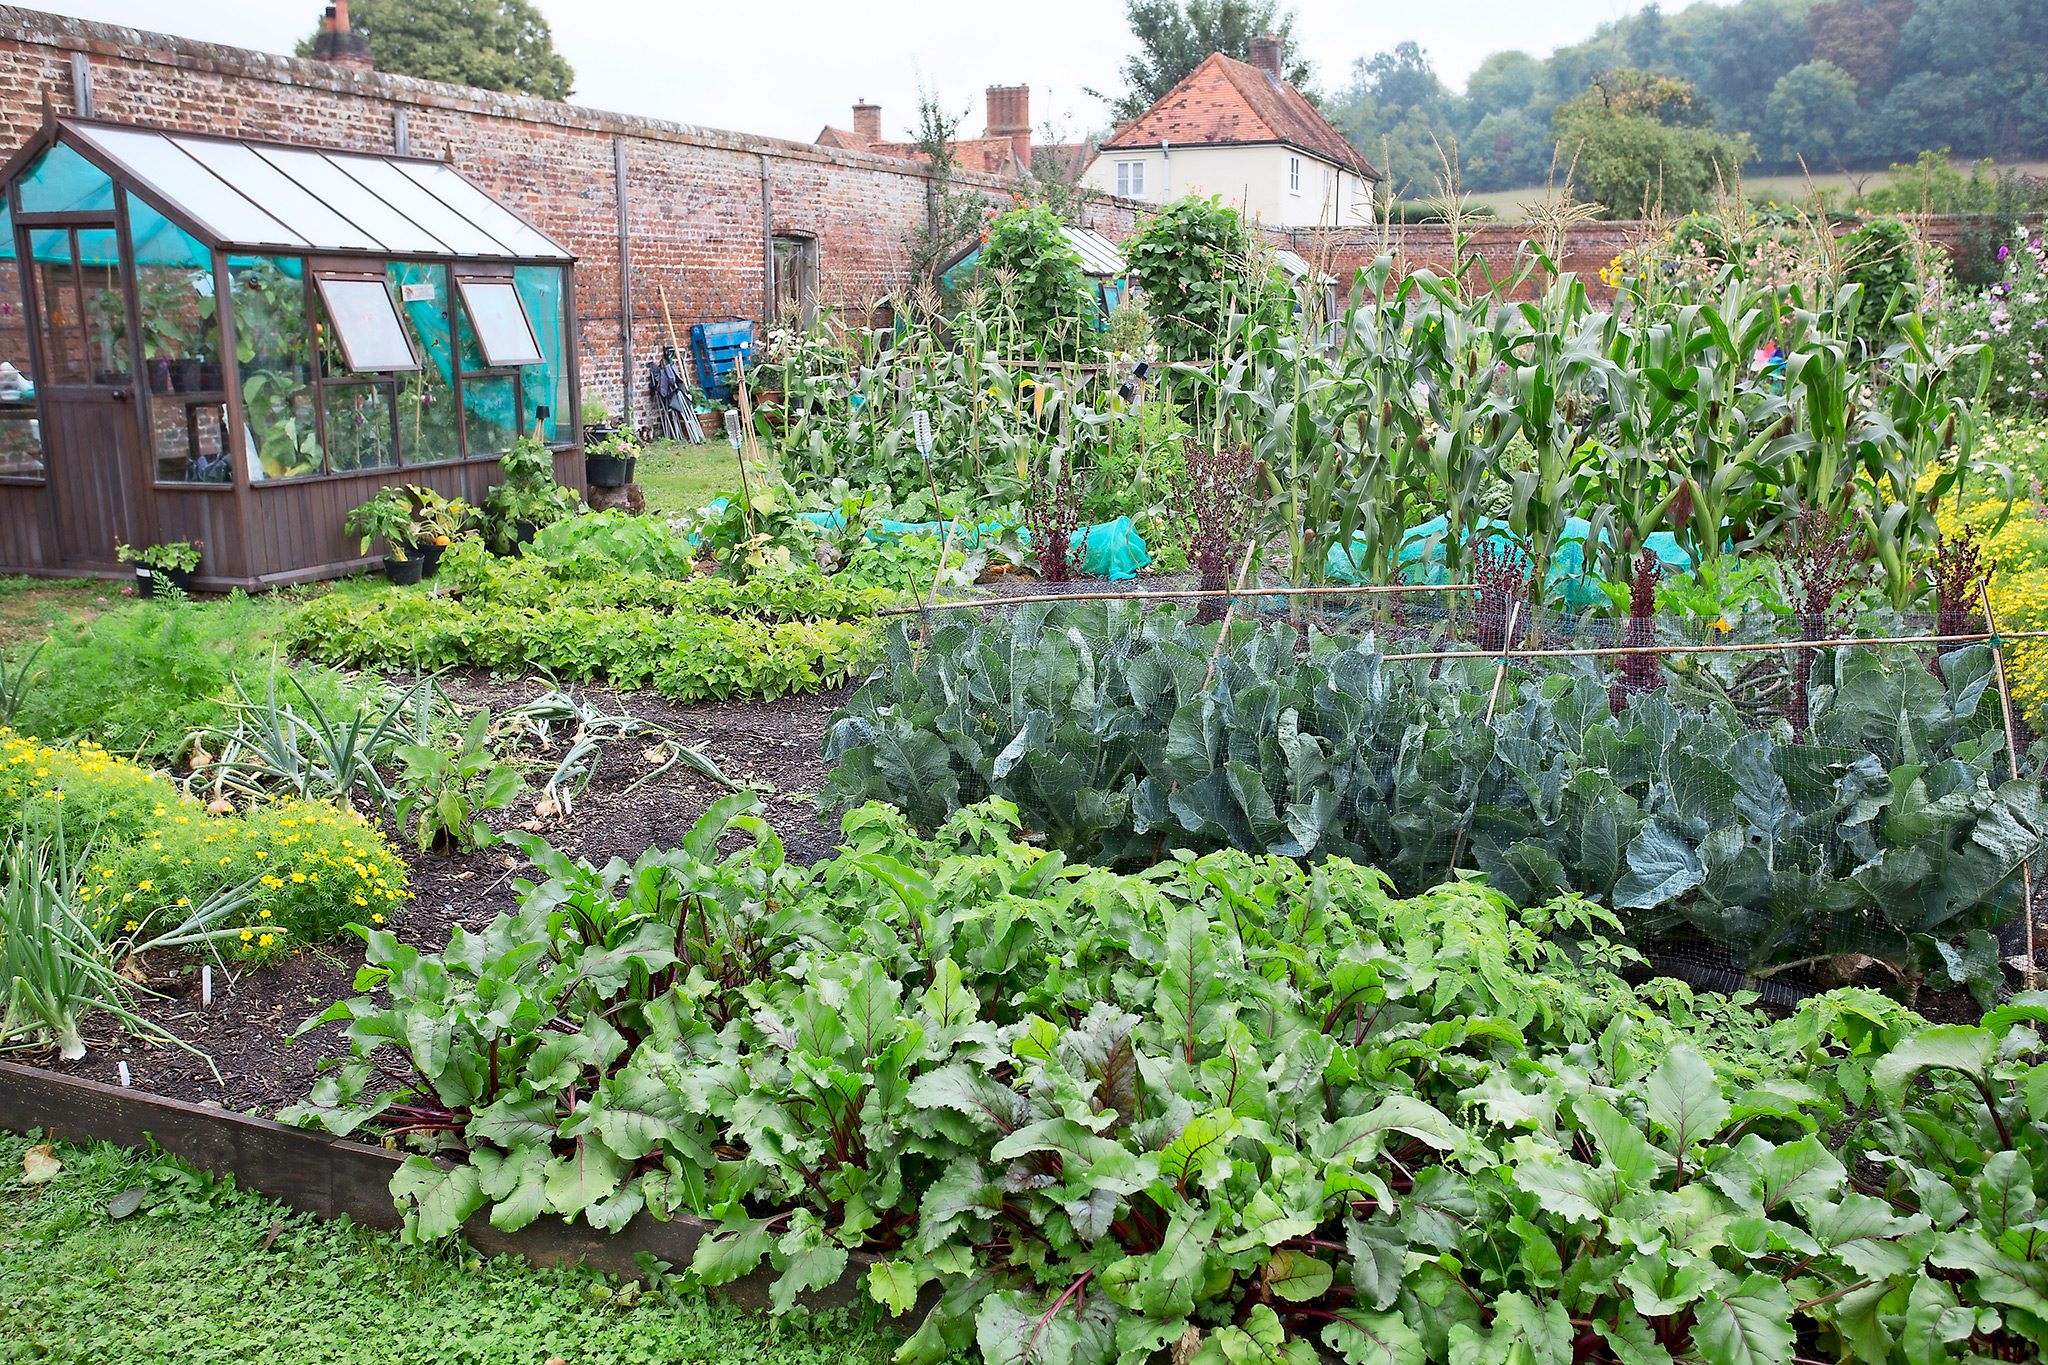
Growing in containers:
It may be a lot of fun to choose plants for different seasonal styles and hues when using containers. To help with drainage, it is preferable to add a few cracked pieces of crockery to the bottom of a jar. Incorporate a tiny bit of topsoil into your compost to keep it from drying up too quickly. Plants use up the components in compost in about six weeks, so replenish with a little amount of slow-releasing fertilizer or feed your plants tomato or liquid feed on a regular basis. Furthermore, fill all of your containers to the brim since you can always remove some afterward.
Full sun:
Find out if your seedling will get morning or evening light exclusively, shade, or full sun. The lighting will determine what kinds of plants are most suitable. But If you proactively give a plant the quantity of light it prefers, half of all potential pest and disease issues will disappear.
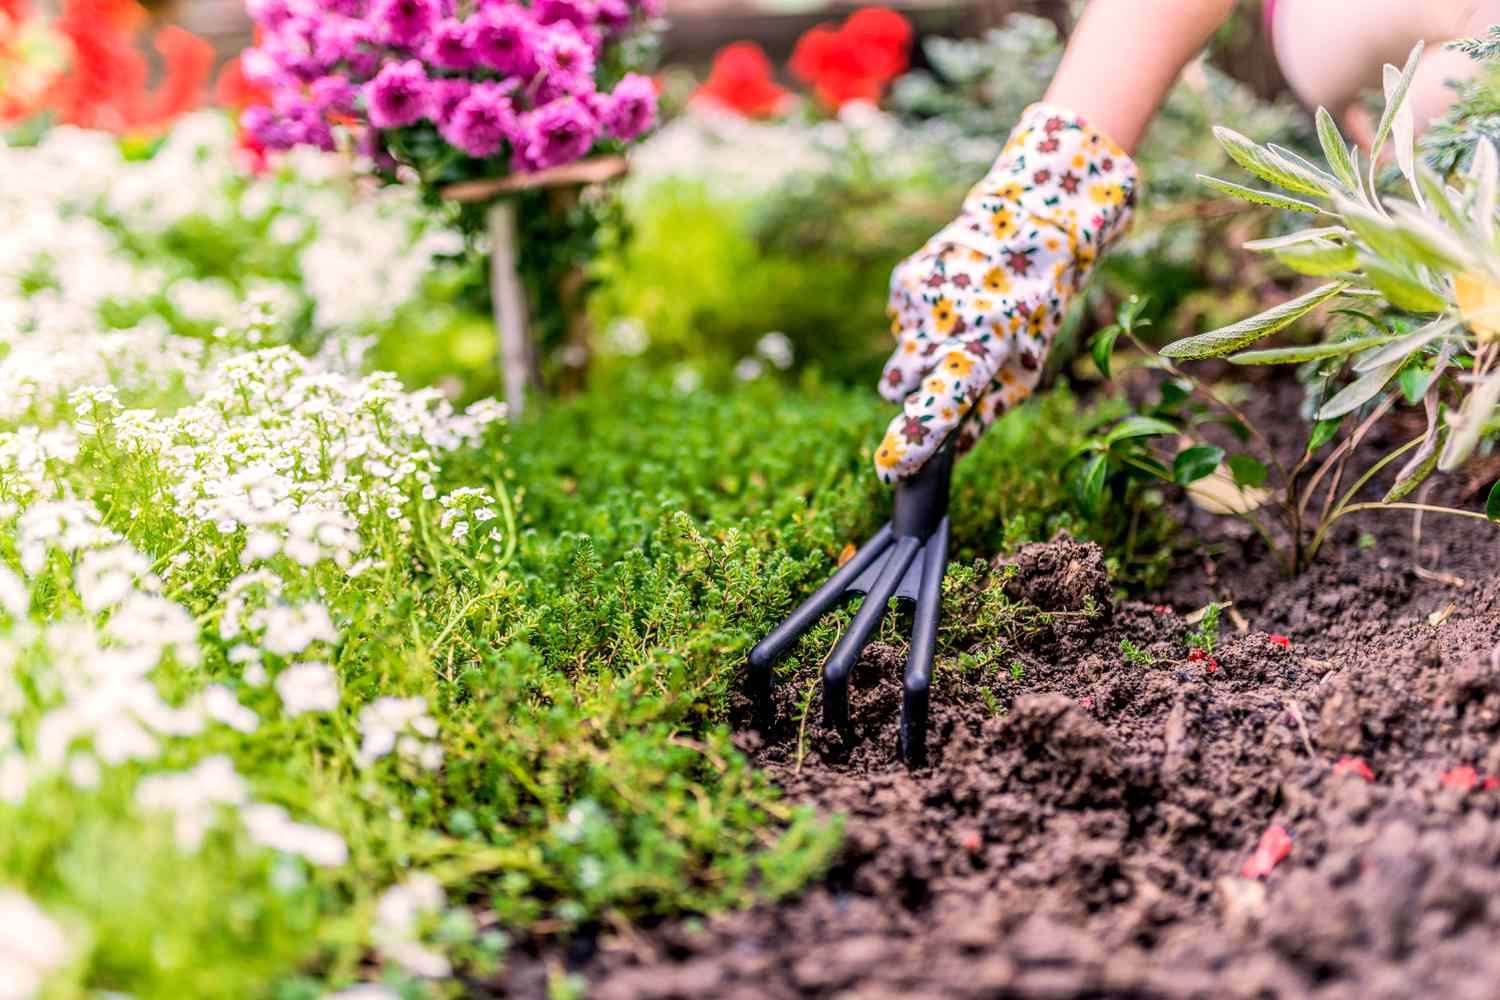
If more, smaller plants are to be installed:
If you wish to install several smaller plants, you should first cover the entire planted area with the proper soil amendment (you can figure out how much to apply by looking at the back of the planting bag). In this manner, as holes are excavated, the native soil and addition can be thoroughly combined.
Applying the chemical mixture to the soil’s surface is the most convenient method for larger plants (a basic rule of thumb states that the amount of amendment requested is exactly the size of the shrub’s container times two). Once more, while digging the hole, the native soil and additions will be thoroughly combined. If you plan to use water-holding granules, make sure they are ready to use by following the instructions.
Dig holes as deep as the container and twice as wide:
In thicker clay soils, be sure to remove the pit’s sidewalls, leaving small gashes behind. Steer clear of leaving holes with perfectly round edges. To ensure that water enters the root zone, fill holes one gallon bigger or larger with fluid before planting. This approach will also assist you in estimating how often you may require irrigation in the future by evaluating the pace at which your dirt drains. You need to wet the soil more in sandy or loamy ground that drains fast and less in clay soils.
Remove the plant from its container by turning the pot over:
To remove the plant from its container, turn the pot upside down. To remove the foliage from its container, turn the pot upside down and lightly grasp the bottom or press the pot’s sides. Larger containers can be turned inside out, which makes it possible to gently shake or slide the plant out. See all Gardening for beginners: Easy tips and simple explanations. Larger plants tend to “stick,” but they can typically be loosened with a few light presses against the walls of the container. Pulling a plant up by its top or root could tear it apart from its roots when removing it from a container.
This next step is critical:
This next stage is crucial for assisting the new plant’s roots in establishing a firm grasp on the soil. The rootball needs to be “broken up,” either by carefully tearing the sides into a “fuzzy” ball with dirt and roots or by slicing the outside using an instrument like a transplanter and roots or a sod knife to chop it up into a more flowing shape. Pull on them to straighten the revolving root at the bottom of the ball. Occasionally, the roots of shrubs and woody trees can be noticed encircling the rootball. You have to pull on these to straighten them. Despite the fact that this process appears detrimental, it actually greatly encourages the formation of new roots.
Set the prepared plant in the potting hole:
Cover the small mound of dirt with the premade plants and set them in the watering hole. Spread the roots all through the entire mound. Add the moisture-holding granules now, following the manufacturer’s instructions, if using them. Fill the opening with blended soil, making sure the material completely encircles the roots. The plant should be placed just above the hole to allow for settling after watering. It is possible to create a tiny levee around larger plants that will act as a water basin by using the remaining soil from digging the pit.
Water the plant well, starting from the outside and working your way inside to the center of the plant. When the water has seeped through, water the soil again.